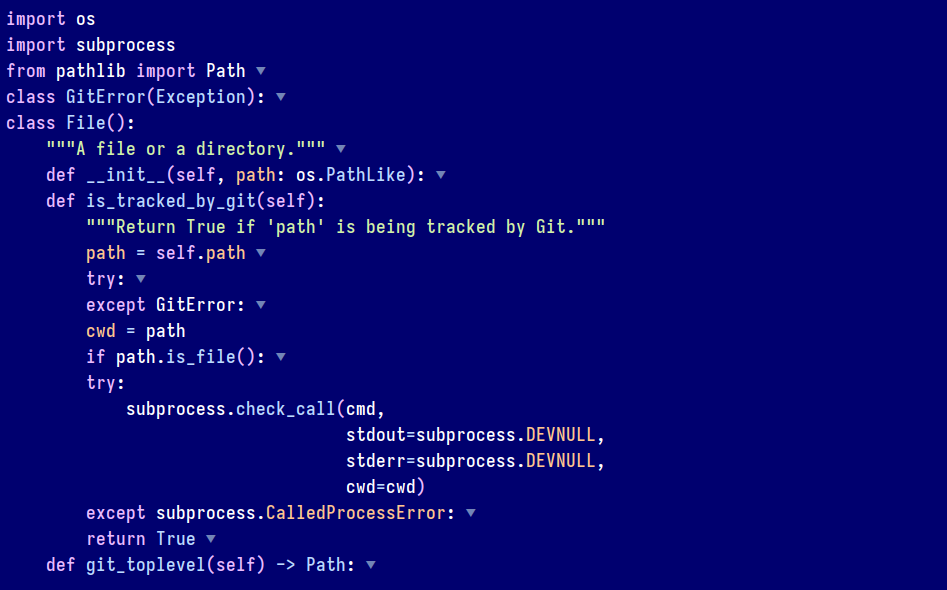
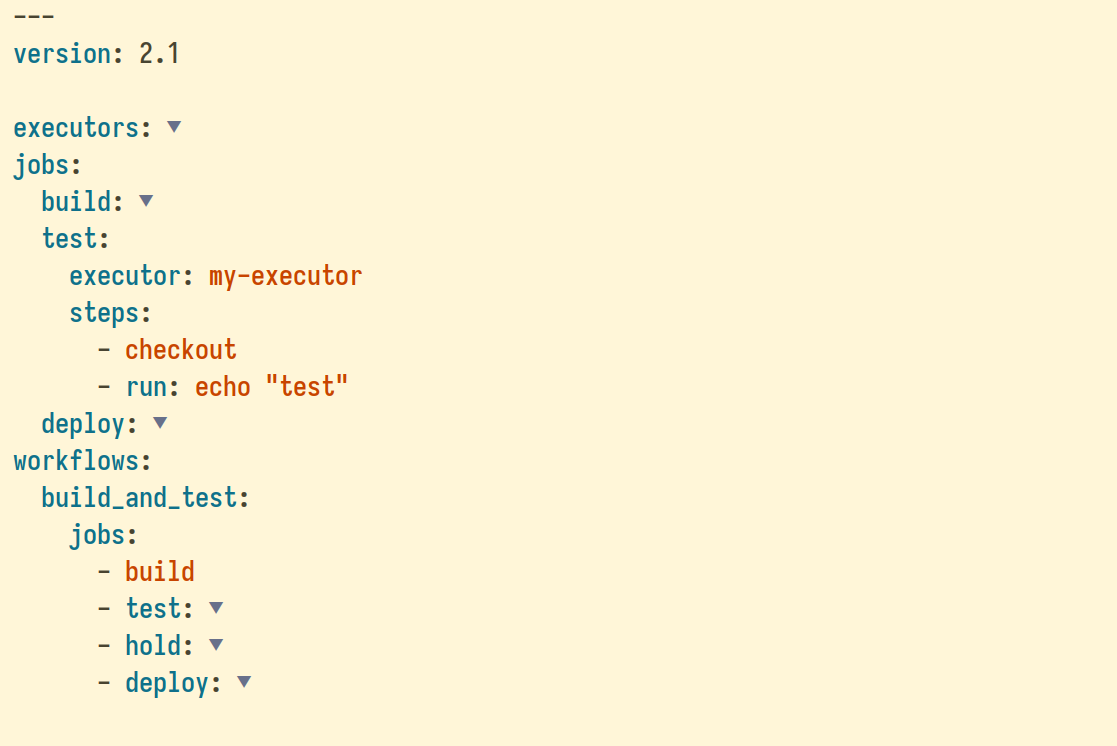
The outline-indent.el Emacs package provides a minor mode that enables code folding and outlining based on indentation levels for various indentation-based text files, such as YAML, Python, and other indented text files.
In addition to code folding, outline-indent.el allows moving indented sub-trees up and down, promoting and demoting sections to adjust indentation levels, customizing the ellipsis, and inserting a new line with the same indentation level as the current line, among other features.
The outline-indent.el package leverages the built-in outline-minor-mode, which is maintained by the Emacs developers and has less chance of being abandoned like origami.el.
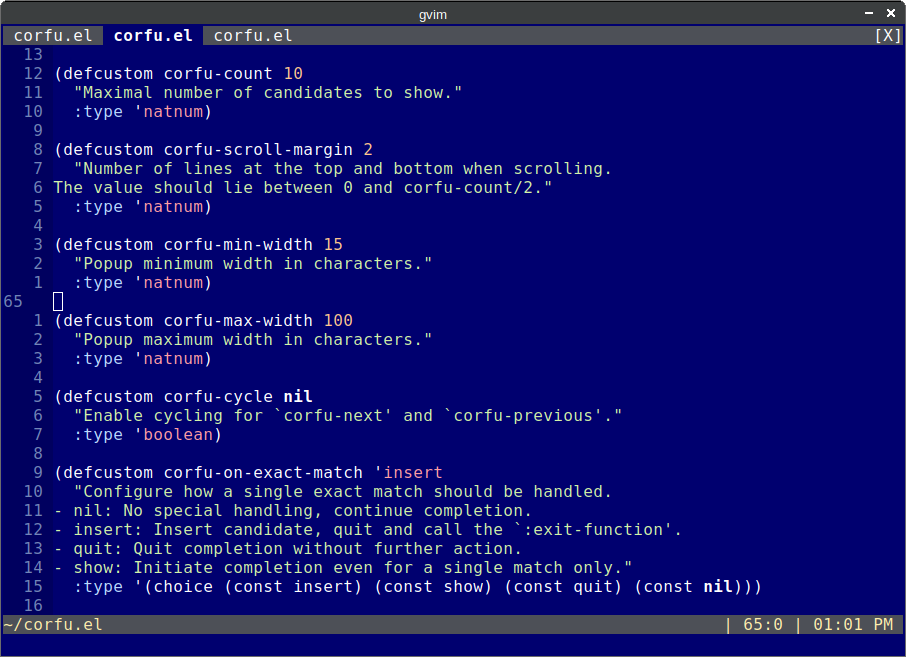
The outline-indent.el Emacs package offers a similar functionality to Vim’s set foldmethod=indent setting. Just as in Vim, it allows to fold and unfold code sections based on their indentation levels.
Installation
To install the outline-indent using straight.el:
- If you haven’t already done so, add the straight.el bootstrap code to your init file.
- Add the following code to your Emacs init file:
(use-package outline-indent
  :ensure t
  :straight (outline-indent
             :type git
             :host github
             :repo "jamescherti/outline-indent.el")
  :custom
  (outline-indent-ellipsis " ▼ "))Code language: Lisp (lisp)
Usage
Once installed, the minor mode can be activated using:
(outline-indent-minor-mode)Code language: Lisp (lisp)The minor mode can also be automatically activated for a certain mode. For example for Python and YAML:
(add-hook 'python-mode-hook #'outline-indent-minor-mode)
(add-hook 'python-ts-mode-hook #'outline-indent-minor-mode)

(add-hook 'yaml-mode-hook #'outline-indent-minor-mode)
(add-hook 'yaml-ts-mode-hook #'outline-indent-minor-mode)Code language: Lisp (lisp)
(You can also adjust the indentation offset by modifying the variable outline-indent-default-offset)
Once outline-indent-minor-mode is activated, you can use the built-in outline-minor-mode functions to fold or unfold indented sections:
outline-hide-body: Hide all body lines in buffer, leaving all headings visible.outline-hide-other: Hide everything except current body and parent and top-level headings.outline-hide-entry: Hide the body directly following this heading.outline-hide-leaves: Hide the body after this heading and at deeper levels.outline-hide-subtree: Hide everything after this heading at deeper levels.outline-show-children: Show all direct subheadings of this heading.outline-hide-sublevels: Hide everything but the top LEVELS levels of headers, in whole buffer.outline-show-all: Show all of the text in the buffer.outline-show-entry: Show the body directly following this heading.outline-show-subtree: Show everything after this heading at deeper levels.outline-show-branches: Show all subheadings of this heading, but not their bodies.outline-show-children: Show all direct subheadings of this heading.
You can also indent/unindent and move subtree up and down:
(outline-indent-demote)and(outline-indent-promote): Indent or unindent the entire subtree.(outline-indent-move-subtree-down)and(outline-indent-move-subtree-up)to move the current subtree up or down.(outline-insert-heading)to insert a new line with the same indentation level/depth as the current line just before the next heading that shares the same or less indentation level.
In Evil mode, outline-indent-minor-mode works out of the box, and you can use the Evil keyboard mappings: zo, zc, zO, zC, za, zr, and zm to manage folds.