The jc-gnome-settings repository provides the jc-gnome-settings.sh script, which holds James Cherti’s settings to customize the GNOME desktop environment, including window management, notifications, desktop behavior, keyboard settings, and more, to enhance the user experience.
jc-dotfiles @GitHub: A collection of UNIX/Linux configuration files. You can either install them directly or use them as inspiration your own dotfiles.
jc-firefox-settings @GitHub: Provides the user.js file, which holds settings to customize the Firefox web browser to enhance the user experience and security.
jc-gentoo-portage @GitHub: Provides configuration files for customizing Gentoo Linux Portage, including package management, USE flags, and system-wide settings.
jc-xfce-settings: GNOME customizations that can be applied programmatically.
watch-xfce-xfconf: A command-line tool that can be used to configure XFCE 4 programmatically using the xfconf-query commands displayed when XFCE 4 settings are modified.
GNOME Shell offers a clean and modern UI, but it often lacks functionality desired by power users and those coming from other desktop environments.
GNOME Shell extensions provide a way to restore or add features to your desktop. In this article, you’ll explore some of the most useful GNOME Shell extensions available directly from the official Debian repositories via apt (available in Debian Bookworm and newer).
For users running distributions other than Debian, this article provides a link to the GNOME Shell Extensions page for each extension, allowing installation on any supported distribution.
Extension Management
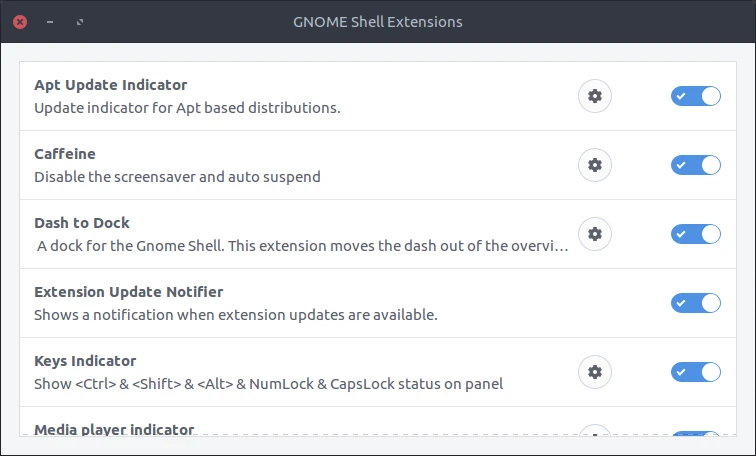
The GNOME Shell Extension Prefs tool offers a graphical interface for enabling, disabling, and configuring GNOME Shell extensions. It can be installed using the following command:
sudo apt install gnome-shell-extension-prefs
After installation, GNOME Shell extensions can be enabled and configured using the gnome-extensions-app command.
Productivity
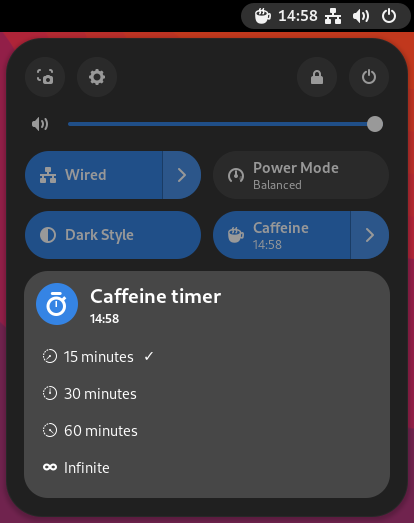
gnome-shell-extension-caffeine
The Caffeine extension prevents the system from locking the screen or entering suspend mode while it is active or when an application switches to fullscreen mode. This extension is useful during presentations, video playback, or gaming sessions, where uninterrupted screen activity is required.
To install it on a Debian-based system, execute the following command:
sudo apt install gnome-shell-extension-caffeine
System Monitoring
gnome-shell-extension-system-monitor
The system-monitor extension displays CPU, memory, network, and other metrics in real time on the top bar. Useful for developers, system administrators, and performance-conscious users.
To install it on a Debian-based system, execute the following command:
The Impatience extension decreases the duration of animations in GNOME Shell, resulting in a more responsive user interface.
To install it on a Debian-based system, execute the following command:
sudo apt install gnome-shell-extension-impatience
Panel and Dash Customization
gnome-shell-extension-dash-to-panel
The Dash To Panel extension integrates the top panel and dash into a unified taskbar, emulating the interface conventions commonly found in Windows and KDE environments.
To install it on a Debian-based system, execute the following command:
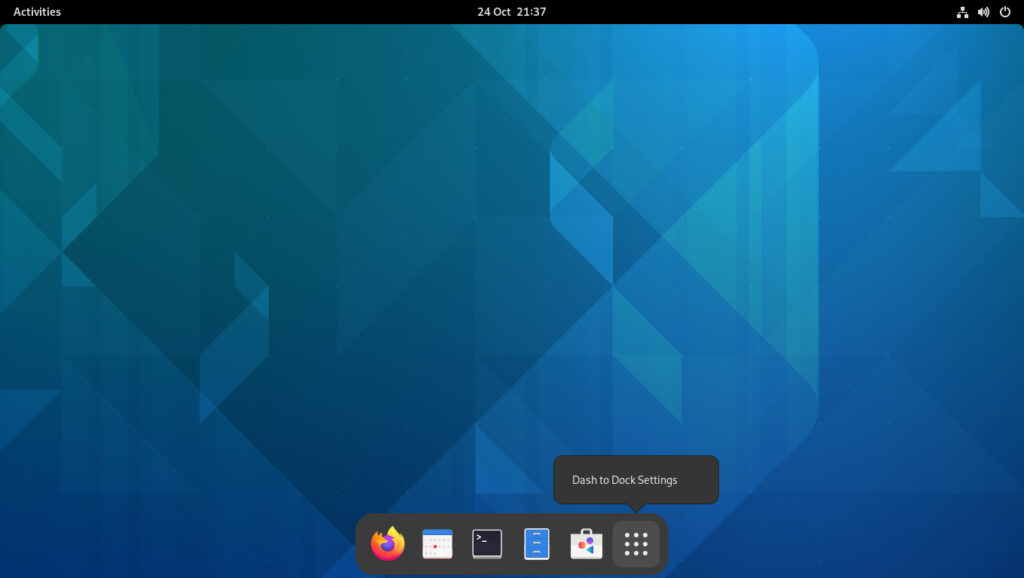
The Dash To Dock extension moves the dash out of the Activities view and docks it on the screen. Ideal for users preferring a macOS-style dock or persistent application launcher.
To install it on a Debian-based system, execute the following command:
sudo apt install gnome-shell-extension-dashtodock
gnome-shell-extension-hide-activities
The Hide Activities Button extension removes the “Activities” button from the top bar. It is useful for cleaner interfaces.
To install it on a Debian-based system, execute the following command:
The Pixelsaver extension integrates window title bars into the top panel for maximized windows, saving vertical space.
To install it on a Debian-based system, execute the following command:
sudo apt install gnome-shell-extension-pixelsaver
gnome-shell-extension-no-annoyance
The NoAnnoyance extension disables “Window is ready” notifications, which can be distracting and interrupt focus when multitasking across multiple applications.
To install it on a Debian-based system, execute the following command:
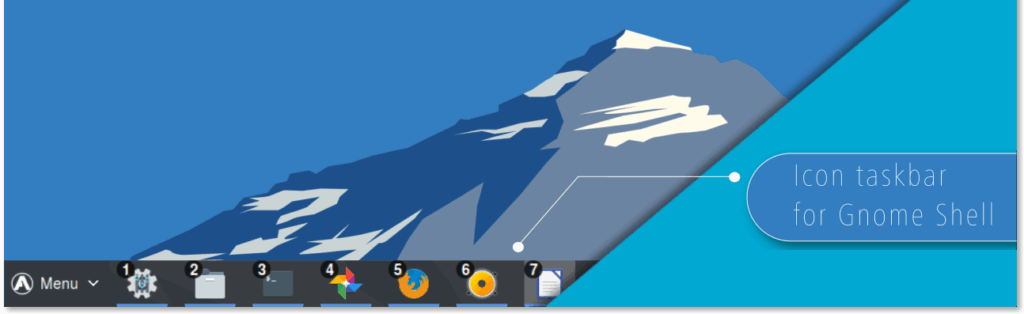
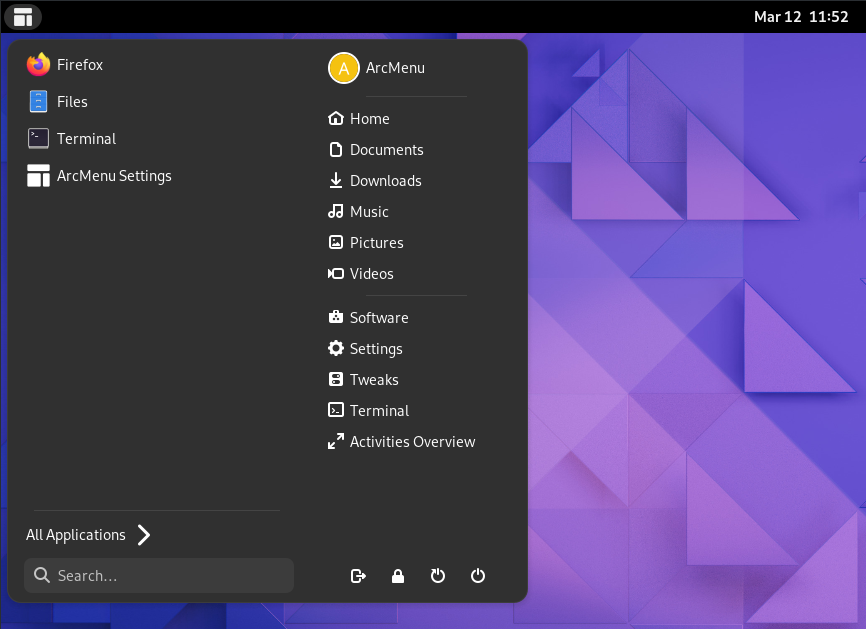
The ArcMenu extension replaces the default application overview with a highly customizable start menu. Suitable for users preferring hierarchical or categorized navigation.
To install it on a Debian-based system, execute the following command:
sudo apt install gnome-shell-extension-arc-menu
Desktop Icon Support
gnome-shell-extension-desktop-icons-ng
The Desktop Icons NG extension restores desktop icon support (files, folders, and shortcuts), which was removed in newer GNOME versions. Supports drag-and-drop and right-click menus.
To install it on a Debian-based system, execute the following command:
These GNOME Shell extensions enable the transformation of GNOME into an efficient and personalized environment. All GNOME Shell extensions mentioned in this article are available through the official Debian repositories.
Additional GNOME Shell extensions, not included in the Debian repositories, can be found on the official GNOME Shell Extensions website.
If you’re using a multi-monitor setup with GDM (GNOME Display Manager) and the login screen consistently appears on the wrong monitor, this article presents a tested solution that can be applied either manually or automated, ensuring that the GDM monitor configuration matches that of your primary user setup.
The issue
Consider the following scenario: You have two monitors connected to an Nvidia graphics card, and despite setting the primary monitor correctly in GNOME, the GDM login screen still appears on the secondary monitor. Even if the secondary monitor is turned off, GDM continues to display the login prompt there, as it defaults to the wrong monitor. Additionally, the screen resolution and refresh rate are not configured as desired. For instance, if you have a 144Hz display and GDM uses a different refresh rate, you may experience annoying black flickering when logging in, as the refresh rate changes mid-session.
The solution
The login screen configuration for GDM can be influenced by copying the monitor layout from your GNOME user session.
This is done by copying the ~/.config/monitors.xml file from your user configuration to GDM’s configuration directory.
Step 1: Configure your display using GNOME
First, configure your display layout as desired using GNOME’s display settings:
Step 2: Copy the resulting monitor configuration to GDM’s configuration directory
Copy the resulting monitor configuration ~/.config/monitors.xml to legacy GDM’s configuration directory and to the new location (/etc/xdg/monitors.xml):
Replace YOUR_USER with your actual desktop user name.
Conclusion
Copying the GNOME display settings to the GDM configuration directory ensures that GDM adopts the same monitor layout as your GNOME session, causing the login screen to appear on your preferred monitor.